A tutorial from Honey and Birch for DIY melt and pour soap – perfect for gifts! It’s much easier to make your own soap than you think.
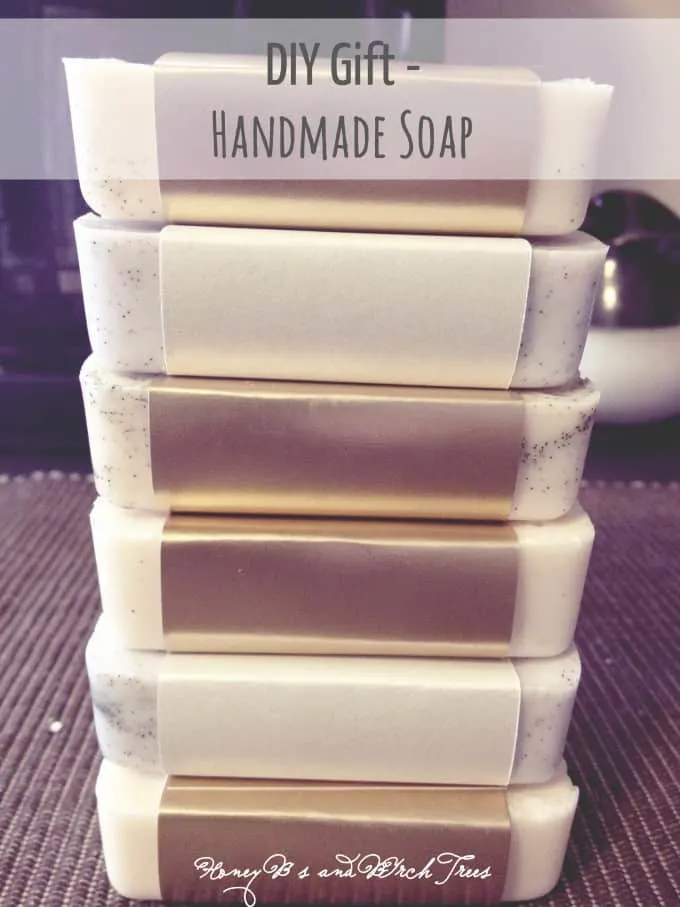
Hello to everyone coming here from Mashable or Pinterest! You may be wondering why the pictures all say “Honey B’s and Birch Trees.” I wrote this post over a year ago and since then I have had a major blog makeover.
Thank you for visiting and check out my recipes if you get a chance! Now comes the melt & pour soap!

This post contains some affiliate links for your convenience. Click here to read my full disclosure policy.
If you’re still hunting for a Mother’s Day gift for your mom, grandma, etc. there is still time to make some DIY soap. Traditional soap making methods take too long; you need to cure (age) the soap before it is safe to use and that takes weeks. Also, using lye can be dangerous if you’re not careful – you need safety goggles and gloves in case of splashing so you don’t get chemical burns.
Enter the melt & pour soap method. It can be ready in a few hours and you melt soap that has already cured so it is relatively safe. You can pick up most of your supplies from the Honey & Birch Melt and Pour Soap Store, at your local craft store and Target (you need a large microwavable container – I use a big glass Pyrex measuring cup.)
Melt and Pour Soap Supplies
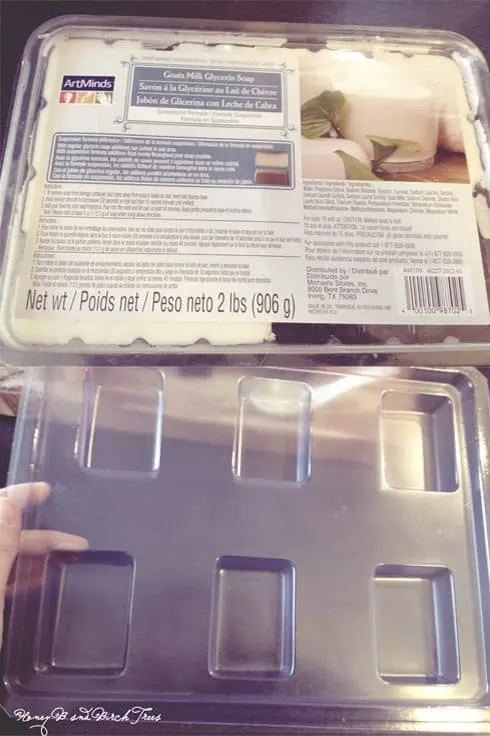
- Melt & Pour Soap base
- Soap mold
- Microwavable container with a spout (this is a good one – Anchor Hocking 3-Piece Measuring Cup Set
- Wooden stirrers
- Measuring spoons (do not use your food measuring spoons or measuring cups) (optional)
- Pipettes (optional)
- Rubbing alcohol in a misting bottle
- Colorants
- Scent
- Additives
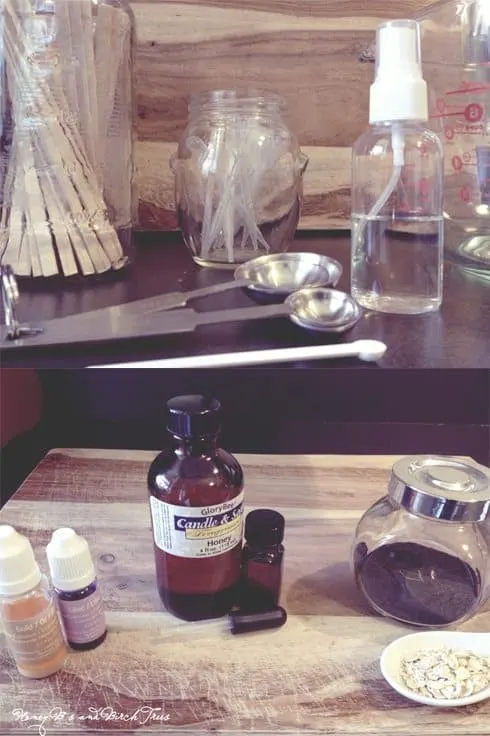
For this tutorial, I use liquid colorants but I also like using mica powders. For scents I used honey and lavender, and for additives I have oats and vanilla bean specks. I get my supplies from Amazon, Glorybee and a local craft store.
Melt & Pour Soap Directions
1. Take enough soap blocks to fill your mold and put them in your glass container. This will take a little trial and error – my soap mold is 3 cubes per soap bar so I am using 6 blocks here for 2 bars of soap. Melt in the microwave in 10 second increments until completely melted. Be careful not to burn your soap.
2. Once the soap cubes are melted, add your colorant, scent and additives and stir well with your wooden stirrers. Use your pipettes and measuring scoops to add your ingredients. Add less at first – you can always add more, but you can’t take it out of your soap without starting over.
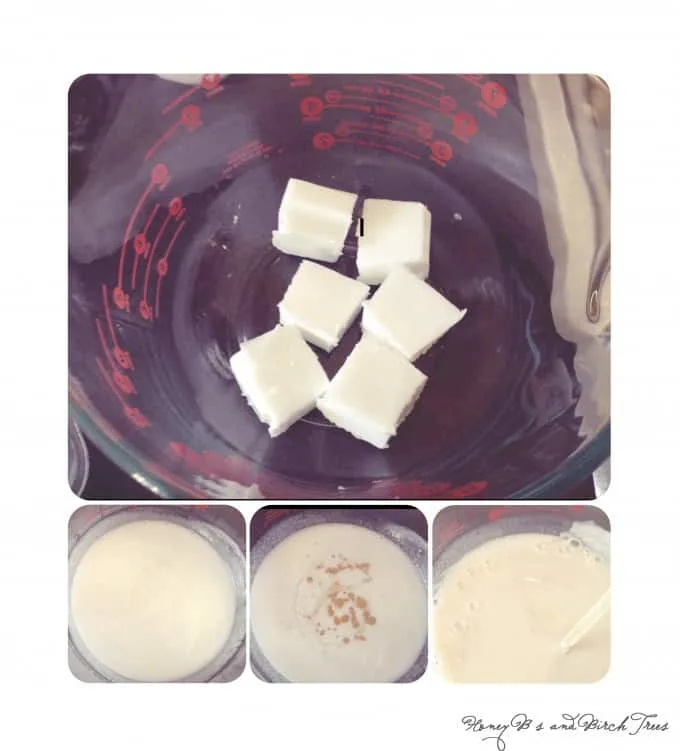
3. Pour your soap mixture into your mold. After you’ve poured, spray the tops of your soap with rubbing alcohol to remove the bubbles.
*After this step, I added more oats to the top of my soap for texture. I wish I hadn’t – they fell off when I was popping the soap out of the tray.
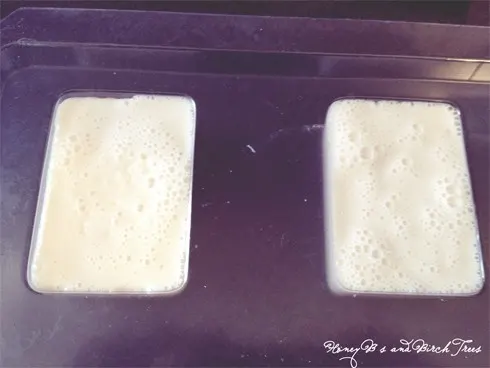
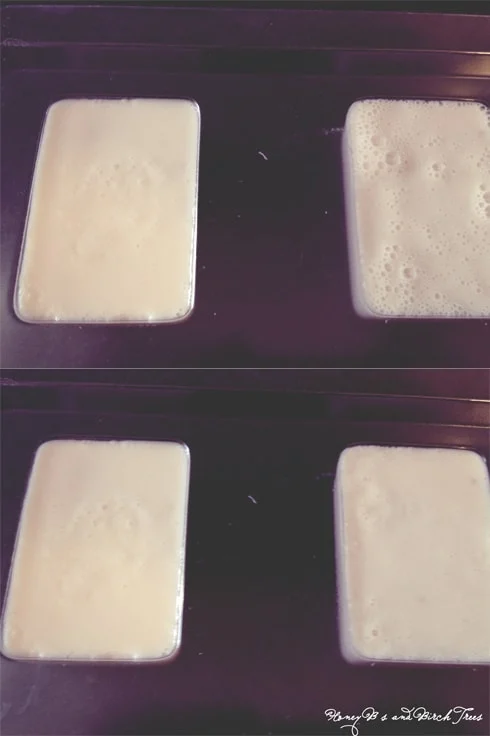
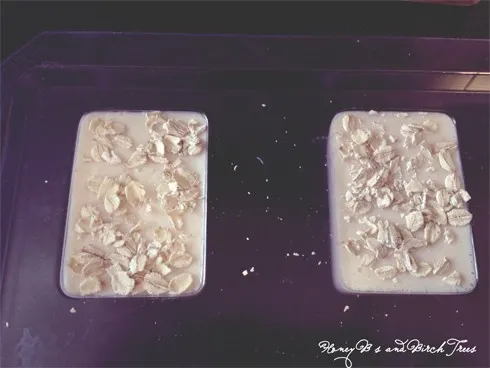
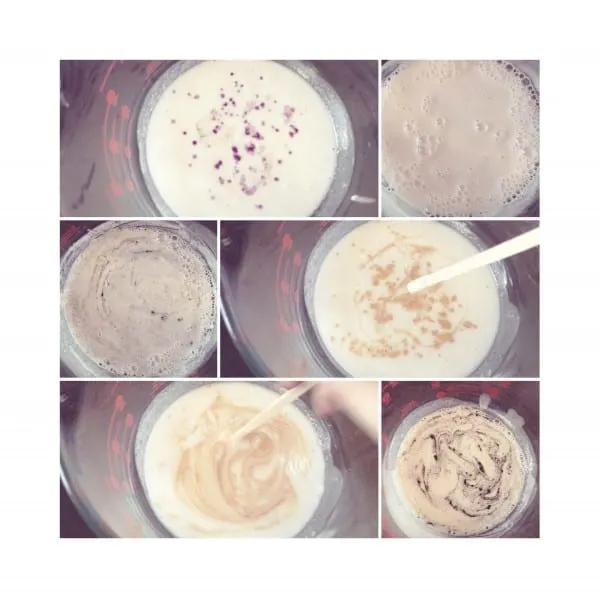
4. Repeat this process, adding the different scent/colorant combinations.
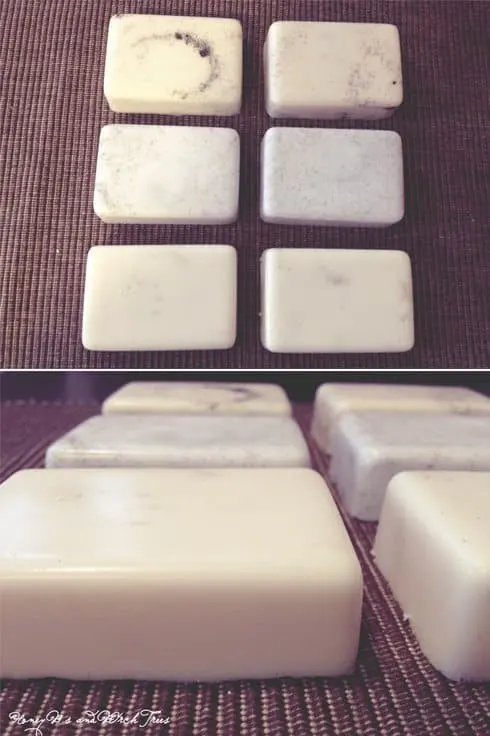
I did three different varieties of soap.
- Gold colorant, honey scent, and oats
- Purple colorant, lavender scent and vanilla bean specks
- Gold colorant, lavender scent and vanilla bean specks (I didn’t mix the bean specks in all the way because it looked cool all spirally)
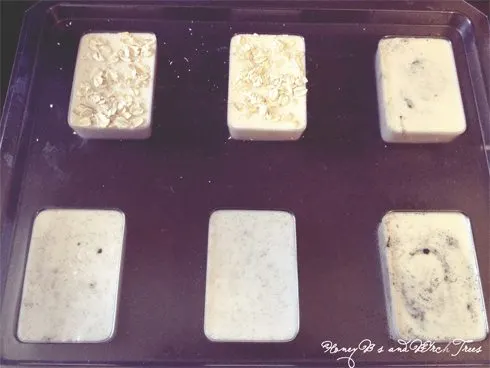
Your Soap is Done
Now you wait. You can pop your soap out of the mold as soon as 2 hours but I like to wait overnight. Wait as long as you need to, or right before you head over to your mom’s house. Up to you.
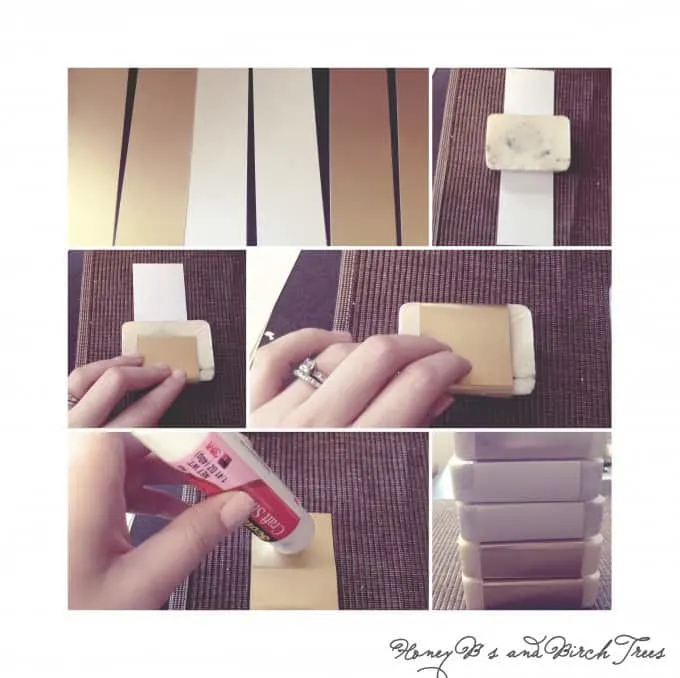
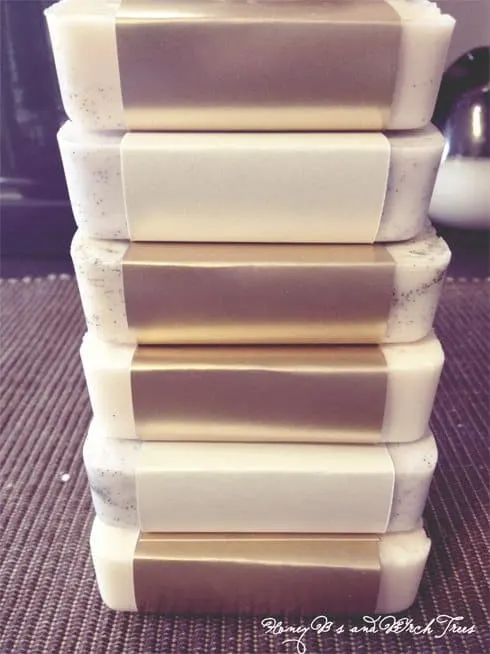
I found some leftover scrapbook paper from wedding projects and cut some strips to go around my soap bars. I wrapped them around each bar and used my glue stick to secure them. Voila!
Use your imagination when coming up with soap combinations – if you’re giving it to your mom, she will probably love it no matter what because you made it for her.
Looking for more DIYs? Check out Make Your Own Vanilla Extract and DIY String Art for Your Kitchen!

Linda Manns Linneman
Wednesday 22nd of October 2014
This sounds like a fun thing to do. I love the finished project. Thank you for sharing
lisa
Saturday 18th of October 2014
What a nice gift idea. I've wondered how involved soap making is. I'm going to try this with different scents to see how it comes out.
Jenny B
Saturday 18th of October 2014
Lisa, making it this way is pretty easy. If you make it completely from scratch it takes more work and time.
June
Sunday 27th of July 2014
So essentially you bought soap, and melted it to make soap. I can understand wanting to add your own scents, but seems like an odd process
Jenny B
Sunday 27th of July 2014
This tutorial is for melt and pour soap - if you'd like some resources for soap from scratch, email me at jennyb at honeyandbirch dot com and I'll send some your way. That process takes much longer though, and the soap needs to cure for weeks before using. This method only takes a day.
Judy Thomas
Thursday 3rd of July 2014
These look quite easy to make , love them .Thank you :)
10 Homemade Gifts for Mother's Day - Simply Frugal
Thursday 1st of May 2014
[…] Homemade Soap […]