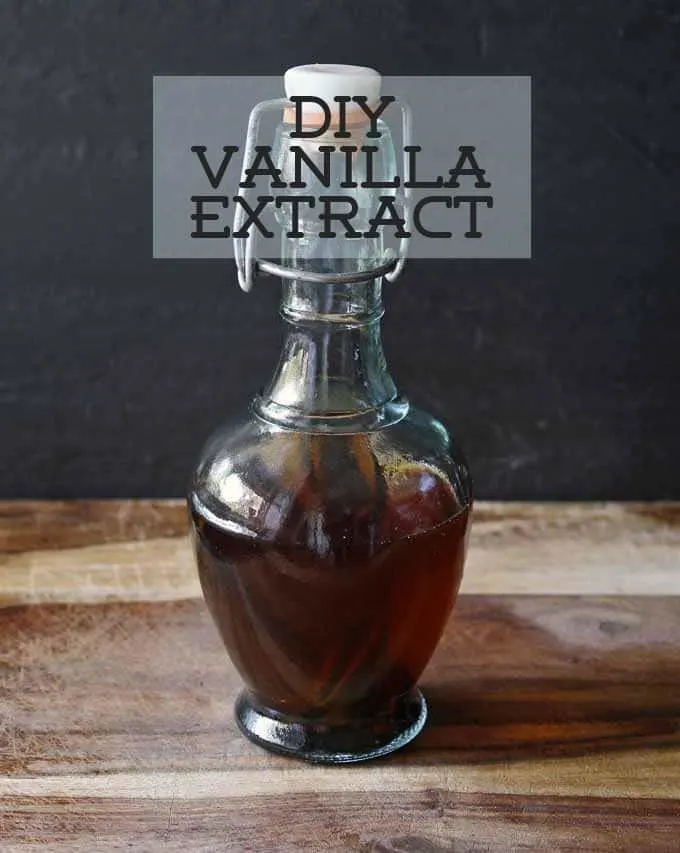
Making vanilla extract is one of the easiest kitchen DIYs. It is a great, quick afternoon project. I don’t know if it’s kid-friendly but that’s up to you.
I couldn’t resist adding another DIY gift to my blog. My first DIY gift was this melt and pour soap tutorial which, thanks to Pinterest and Mashable, used to get so many visitors. Alas, my photos did not age so well.
Back to the homemade vanilla extract.
I have been wanting to make homemade vanilla extract for a while – and I was really cutting it close getting it ready for Christmas presents.
It needs about 8 weeks to soak before its ready to use, but I had a plan for that. And I’ll share that with you at the end of this post in case you come across this tutorial, and you want to make this gift too. Also at the bottom is a printable version with pictures.
Supplies
This post contains some affiliate links for your convenience. Click here to read my full disclosure policy.
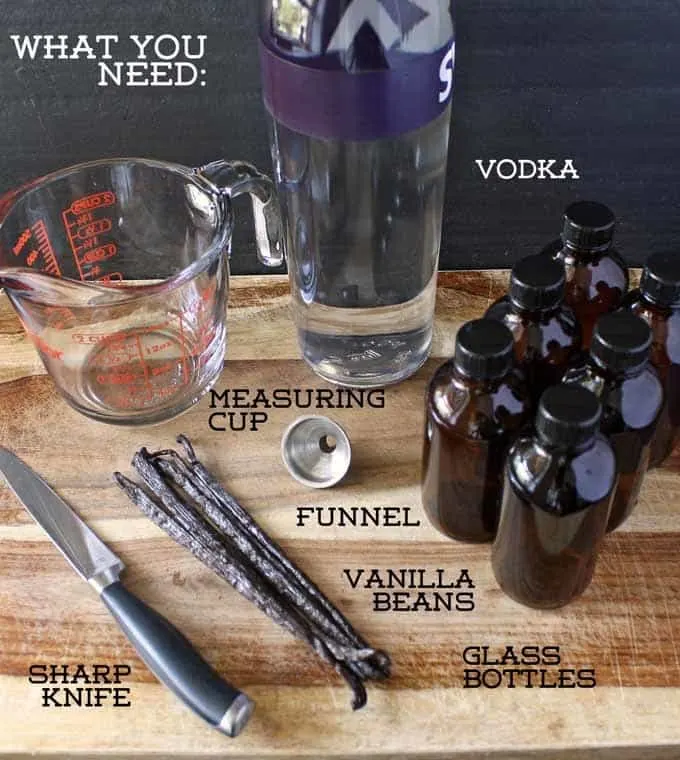
To get started, you only need four things – glass bottles with stoppers, vanilla beans, a sharp knife and vodka. I also used a funnel and a measuring cup to make pouring the liquid easier, but these two are optional items. Even with them, there’s a good chance you’ll still spill if you’re not careful.
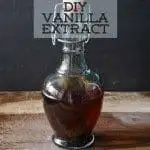
While shopping at HomeGoods one day, I found the cutest glass bottles so the other day I went and picked up a few. They aren’t very big – they’ll fit a little over 1 cup of liquid in each bottle.
I figure they are perfect for gifts, just in case someone doesn’t bake as often as I do. Seriously, I go through a a lot of vanilla extract.
Update 8/7/14: I have switched to using four ounce Boston Round bottles from Amazon – they seal better, which means less spillage when you’re doing your weekly shaking.
Next, you will need vanilla beans. I almost always get my beans from Amazon – 5 Pack Gourmet Madagascar Bourbon Vanilla Beans
Update 6/1/20: I have switched to Grade A Madagascar Vanilla Beans from Etsy.
For the size bottles that I bought, I used 2 vanilla beans per bottle. Adjust accordingly – remember, my bottles hold approximately 1 cup of liquid per bottle.
And the final, but most important touch is the booze. I went with vodka but you can go exotic if you want and do bourbon or whiskey. Alcohol itself is the key ingredient in this mix.
Because I wanted a vanilla extract that was very… vanilla, I went with the cleanest vodka I could find.
By clean, I meant with the least amount of vodka taste. Surprisingly, with all my research, it wasn’t Grey Goose or Belvedere or another top-shelf vodka.
It was Svedka. You can use whatever vodka you’d like – it was just important to me that the final product tastes as much like vanilla as possible. 🙂
Directions
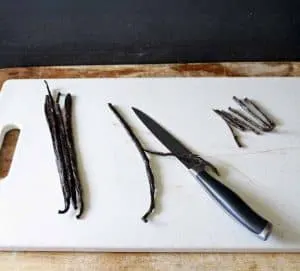
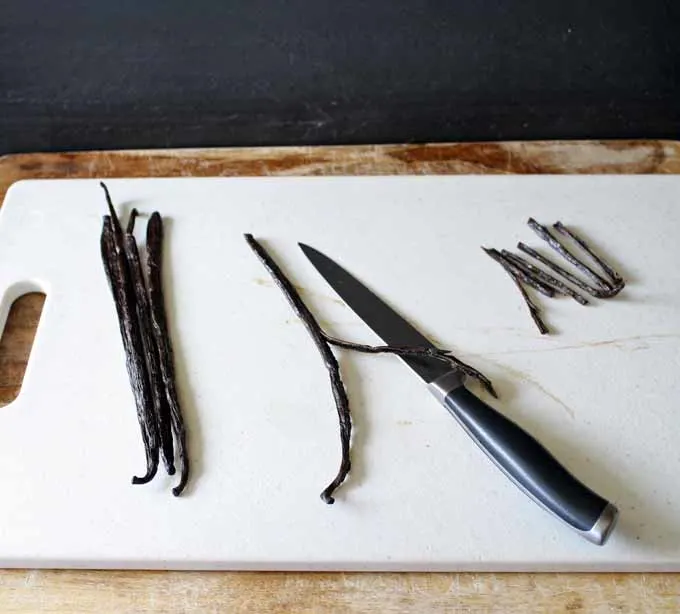
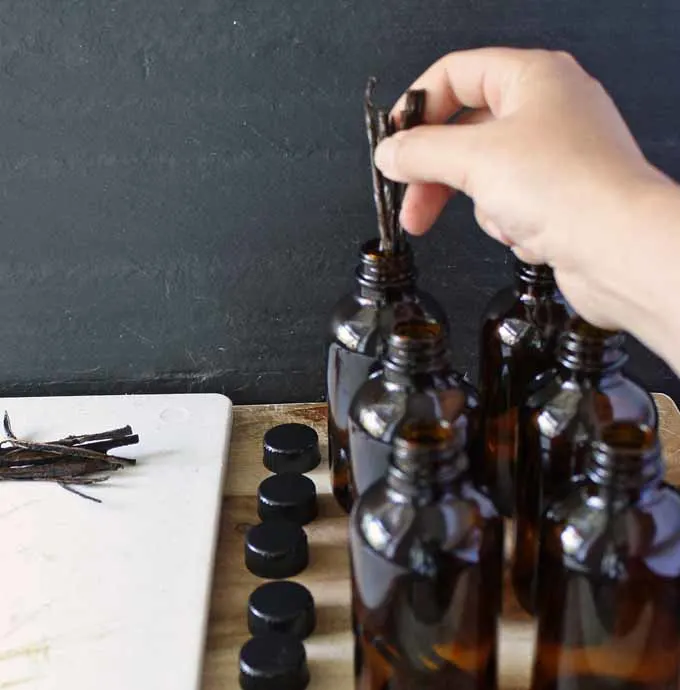
1. To start, slice all of your vanilla beans in half lengthwise. Do this slowly so that you don’t cut yourself. Then cut all your halved vanilla beans in half widthwise.
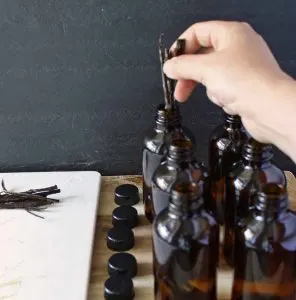
2. Place 8 vanilla bean pieces in each bottle. Remember that you cut your beans up, so this equals 2 beans per bottle.
If you are using a larger or smaller bottle, adjust accordingly.
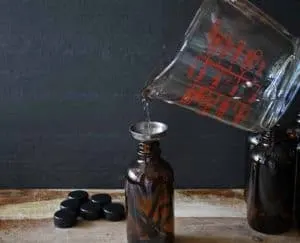
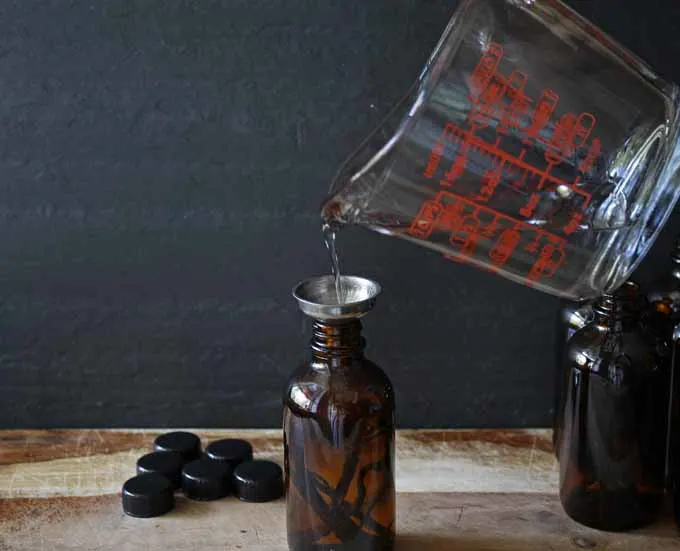
3. Fill each bottle with enough vodka (or other liquor if you are going the exotic route) so that the tops of each vanilla bean piece is covered.
This is when a funnel comes in handy.
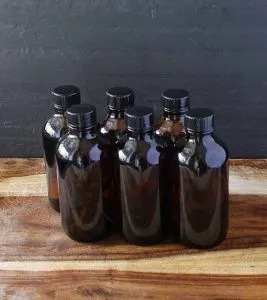
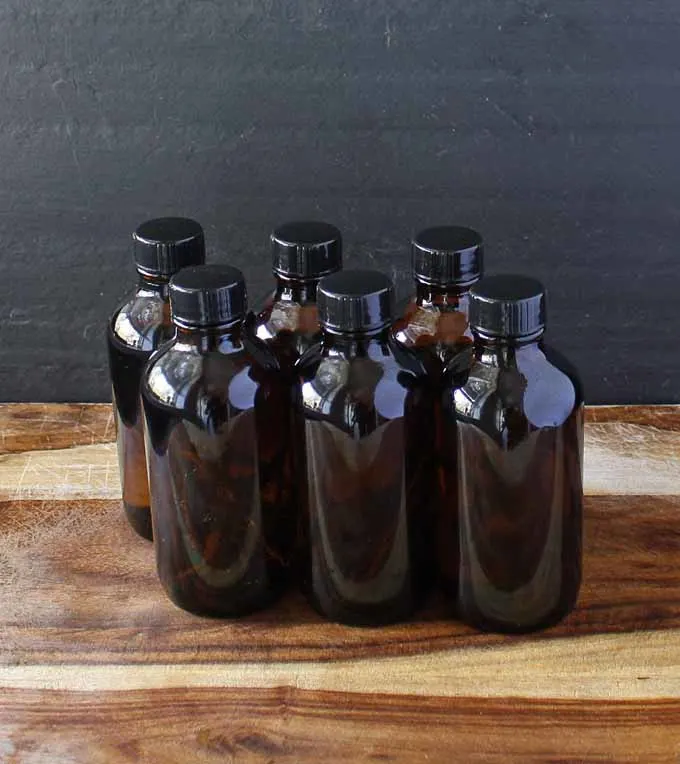
4. Close each bottle and store in a cool, dark place for 8 weeks. Each week shake the bottles once or twice a week. So easy, right?
Now you may be saying to yourself… uh oh, its 4 weeks to Christmas. Or, uh oh… its 1 week to Christmas.
If that’s the case, don’t worry. Here’s your solution.
Before I wrap these up for gifts, I am going to include a round label on each bottle. I plan on including the bottled date, and the date to begin using – 8 weeks from the bottled date. I may include simple instructions – such as shake once a week, or shake before using – as well.
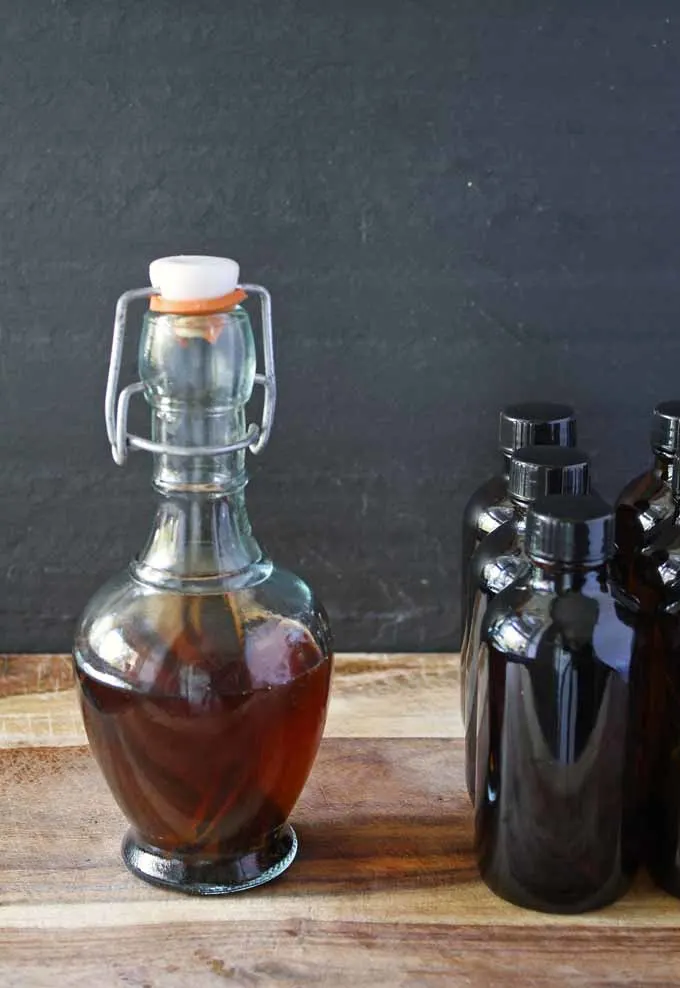
Update 8/7/14 – The picture above shows one of the original bottles after sitting for several months, next to the new bottles.
Homemade Vanilla Extract
Equipment
- Kitchen Knife
Ingredients
Instructions
- Slice all of your vanilla beans in half lengthwise. Do this slowly so that you don’t cut yourself. Then cut all your halved vanilla beans in half width-wise.
- Place 8 vanilla bean pieces in each bottle. Remember that you cut your beans up, so this equals 2 beans per bottle.
- Fill each bottle with enough vodka (or other liquor if you are going the exotic route) so that the tops of each vanilla bean piece is covered.
- Close each bottle and store in a cool, dark place for 8 weeks. Each week shake the bottles once or twice.
Sari
Thursday 9th of June 2022
What other liquor could you use to go the exotic route?
Sissy
Wednesday 20th of January 2021
How long does it last, once completed.
Teresa Olson
Wednesday 28th of April 2021
@Sissy, vodka glass forever
Heather
Tuesday 22nd of December 2020
Since the new bottles hold 4 oz. ...do you put fewer vanilla beans in? Sorry if I missed this info!
Jenny
Tuesday 22nd of December 2020
I actually have been using the same amount of vanilla beans - I have found I didn't have to let it sit as long with more beans.
Linda Dooley
Monday 6th of July 2020
Where can I find vanilla beans?
sherri E winther
Sunday 28th of June 2020
Why not put the cut up Vanilla Bean right into the bottle of Vodka?
Celestia Floyd
Sunday 22nd of November 2020
@sherri E winther, That makes total sense to me, lol. I think maybe if you give them as gifts, or don't use it that often it may be better in the smaller bottles. Maybe it needs to be in the dark glass?